Armored Vehicle Manufacturing Process Explained Step by Step – From Base to Bulletproof
Armored Vehicle Manufacturing Process Explained Step by Step
From Civilian SUVs to Military APCs – The Journey to Bulletproof Protection (With Real Factory Photos)
Introduction
Armored vehicles don't start life bulletproof — they are transformed through a precise, multi-stage process. Civilian models (e.g., armored Mercedes or Toyota) usually begin as stock vehicles and get up-armored, while military vehicles (APCs, MRAPs) may be purpose-built from the chassis up. The goal: achieve certified protection levels while preserving handling, speed, and reliability.
1. Design and Planning
Engineers create detailed 3D models, simulate ballistic impacts, and plan armor placement to maintain center of gravity and performance.

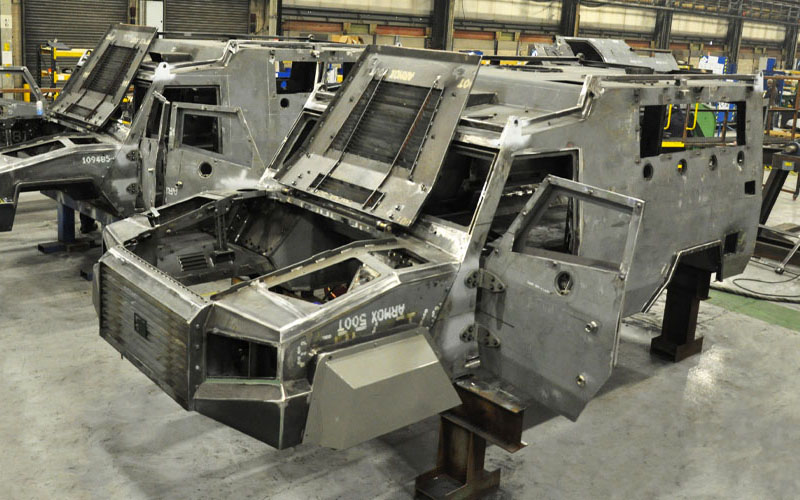
2. Preparation and Disassembly
The base vehicle is stripped to its bare frame: all interiors, glass, wiring, seats, and panels removed to allow full armor integration.


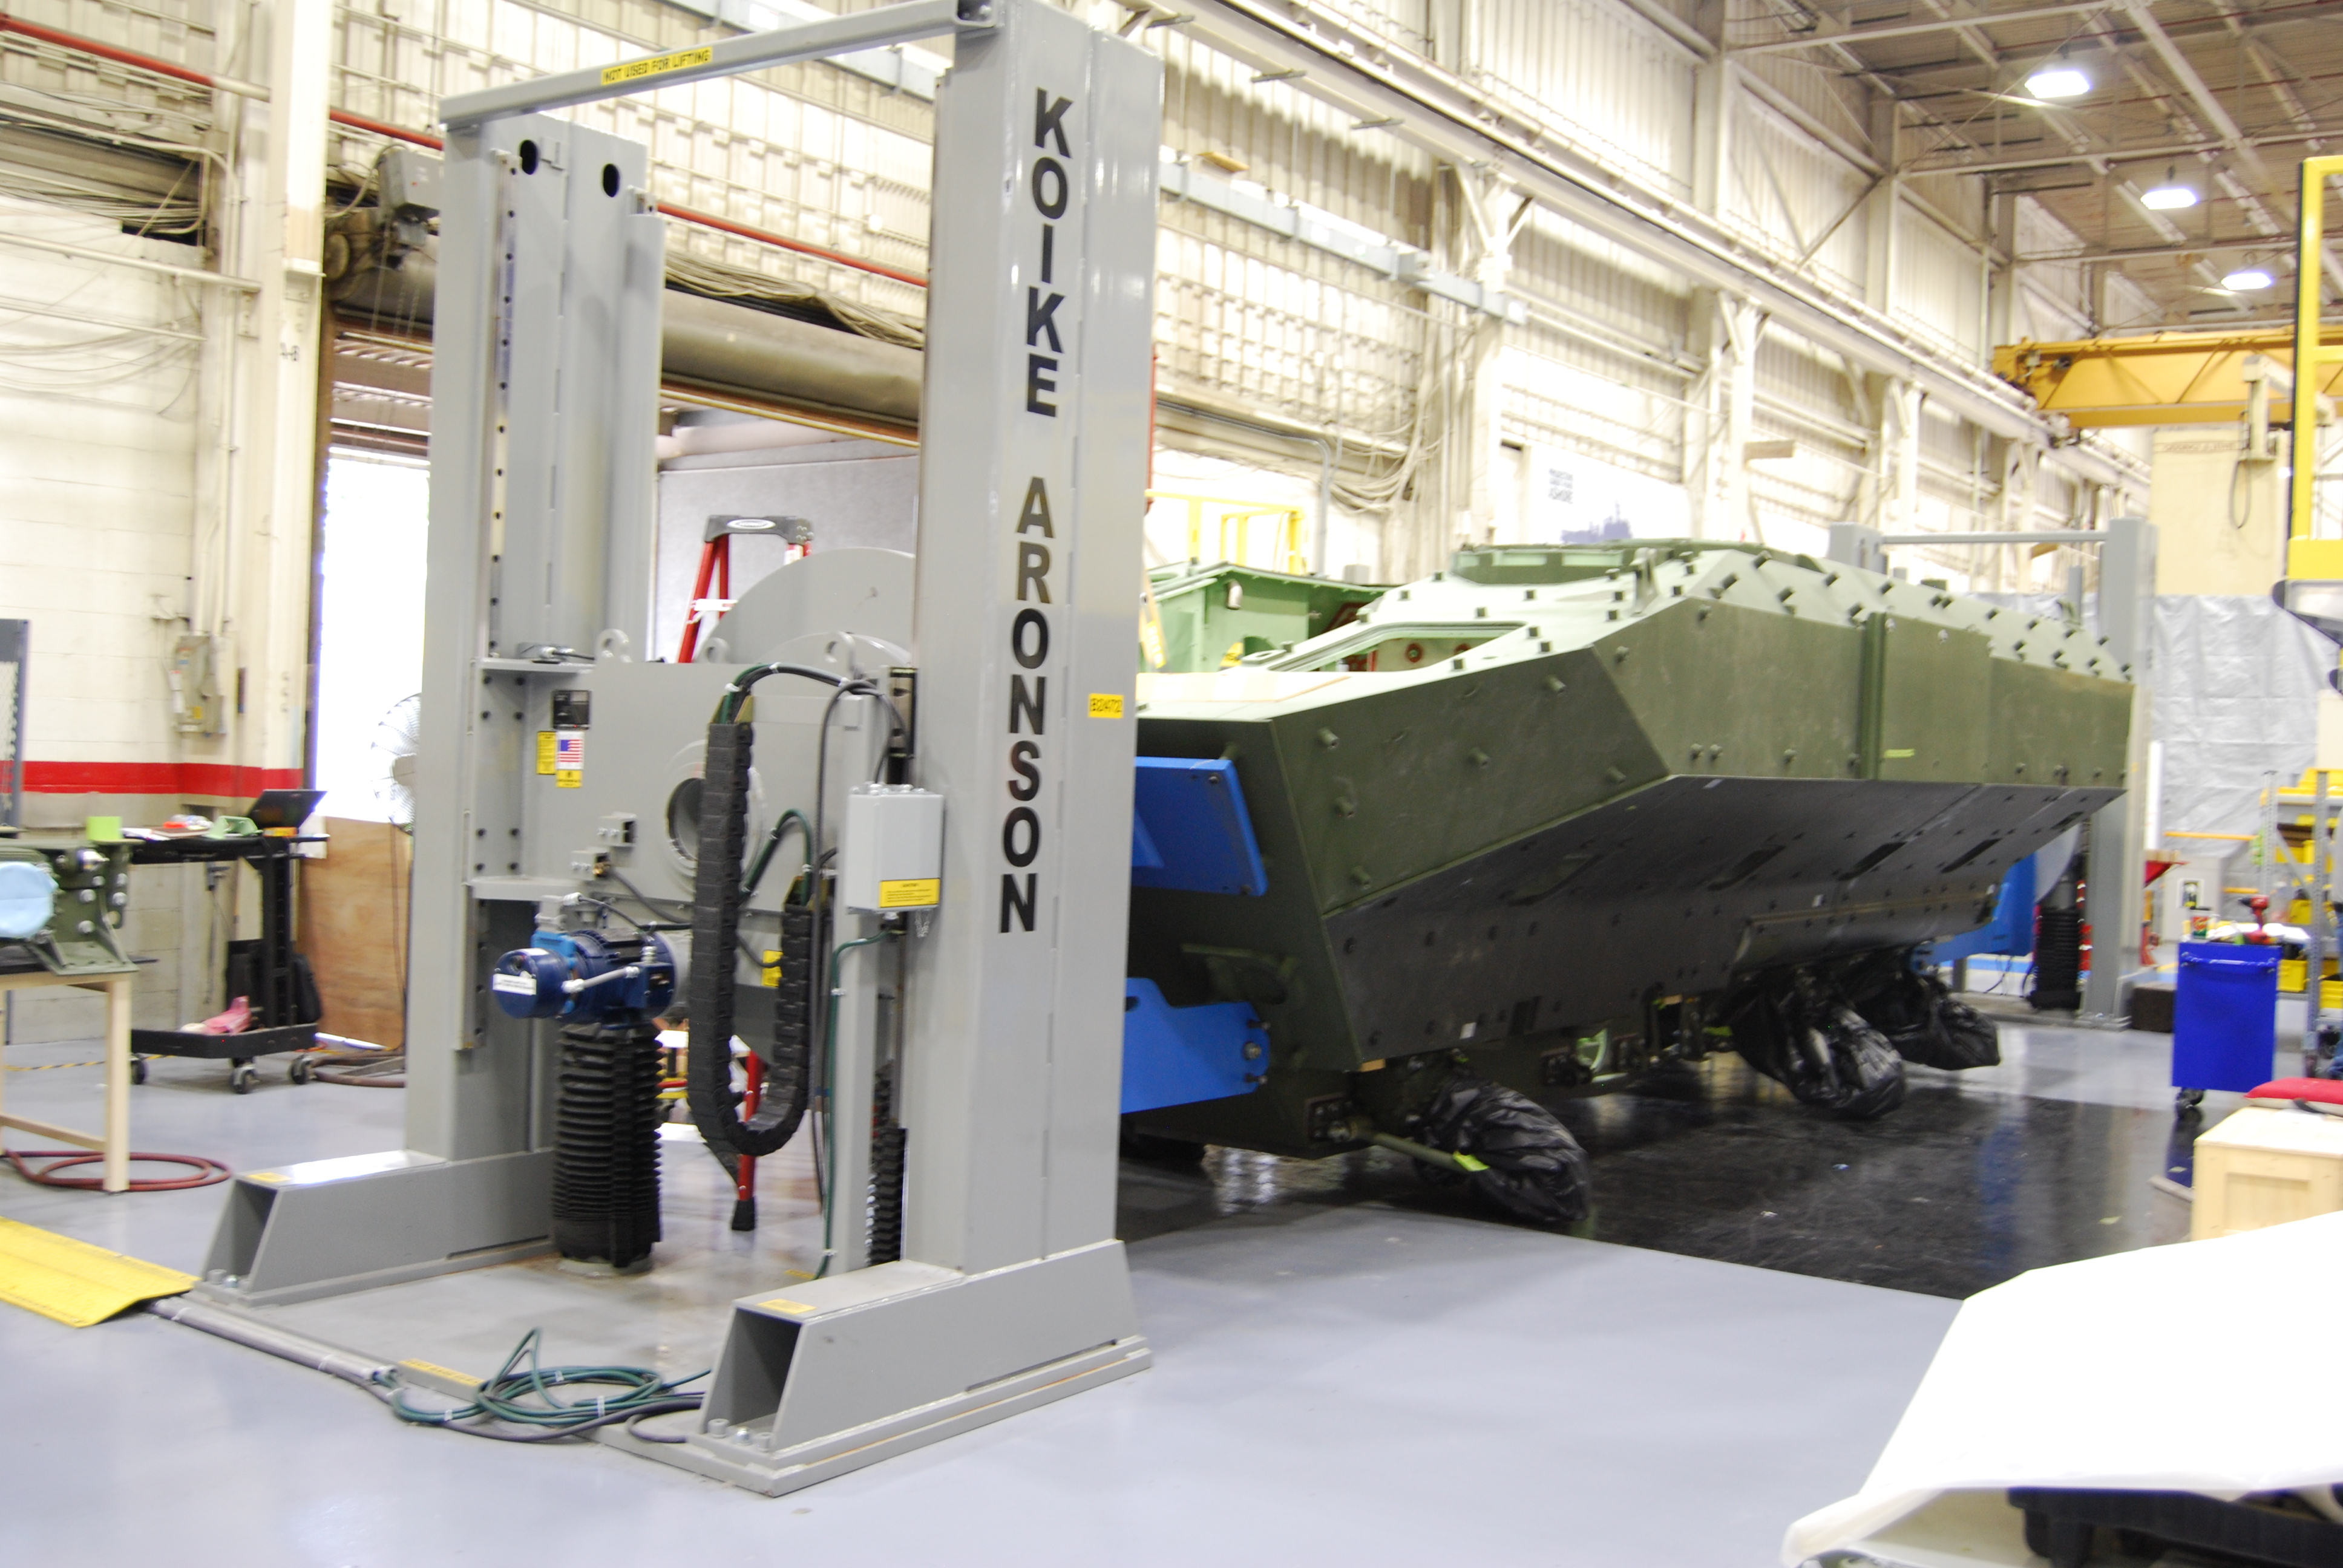
3. Armor Fabrication and Installation
Ballistic steel, composites, or lightweight armor panels are precisely cut and welded to form a protective cocoon around the passenger compartment.
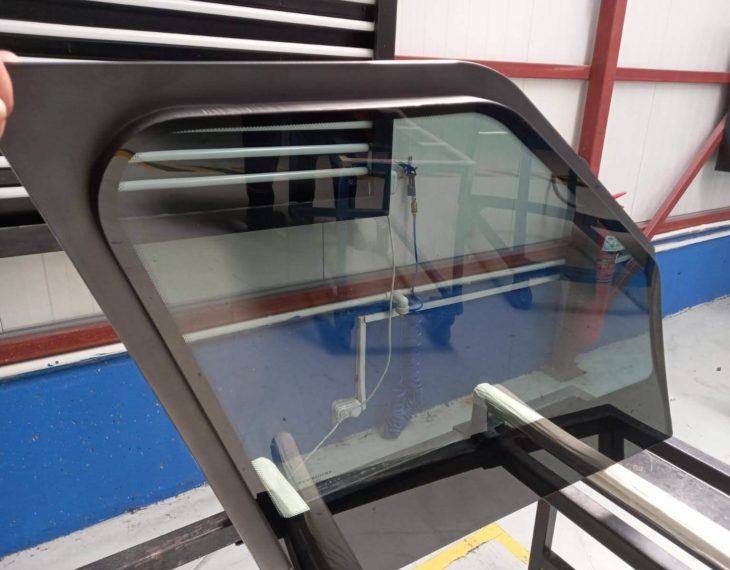
4. Transparent Armor and Component Upgrades
Multi-layered bulletproof glass replaces all windows. Heavy-duty suspension, brakes, run-flats, and protected vital systems (battery, fuel tank) are installed.

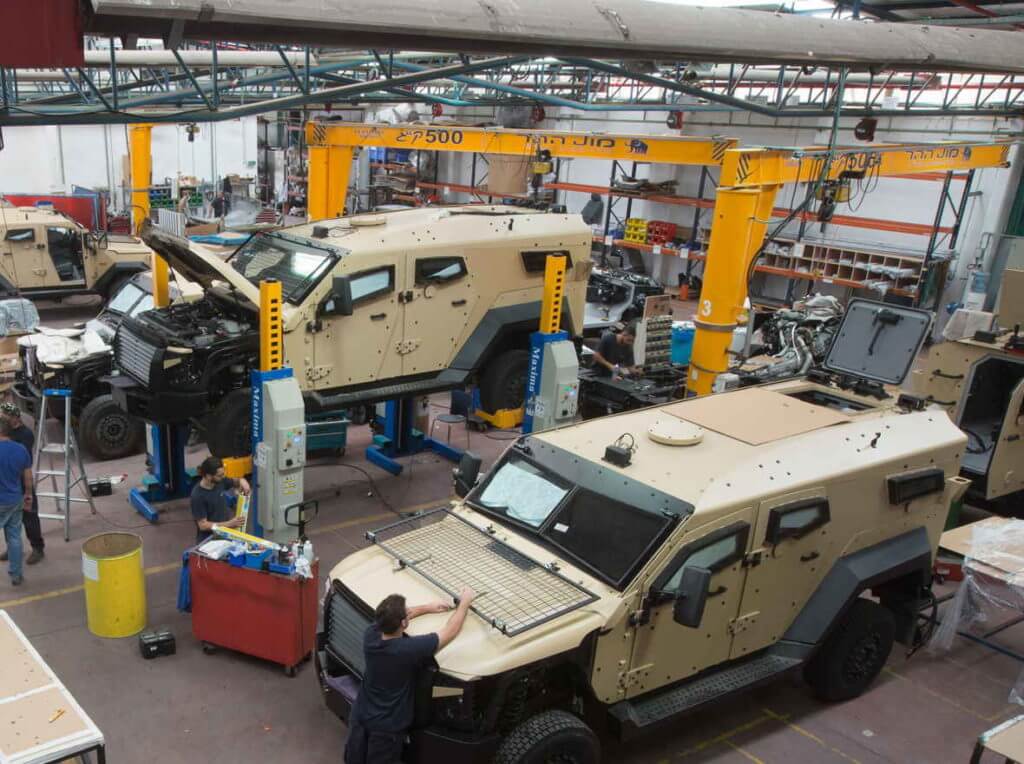
5. Reassembly and Integration
Interiors, electronics, HVAC, and exterior panels are reinstalled with modifications for seamless appearance and full functionality.
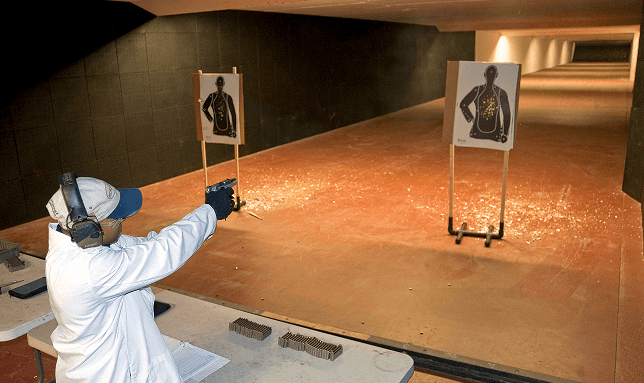
6. Testing and Quality Control
The vehicle undergoes rigorous ballistic, blast, and performance testing to certify protection levels (e.g., VPAM, NIJ, STANAG).


Conclusion
From bare chassis to fortified fortress, armored vehicle manufacturing combines precision engineering, advanced materials, and exhaustive testing. The result is a vehicle that looks ordinary but delivers extraordinary protection when it matters most.
Engineered for threats. Built for life.


评论
发表评论